Introduction
Pages are main part of the WordPress and this makes the WordPress a solid CMS tool. You can manage all pages from Admin > Pages section. If you are absolutely new to WordPress, please check the Getting Started with WordPress.
Note: Once the page is created, it should be added to menu via Appearance >> Menus if you’d like it to appear in the navigation on website frontend.
Page Settings
A number of custom options is available for any page created. Once you are in a specific page in admin panel, scroll down until you see the custom options block illustrated in below Screenshots. We will go through options one by one:
Header Options
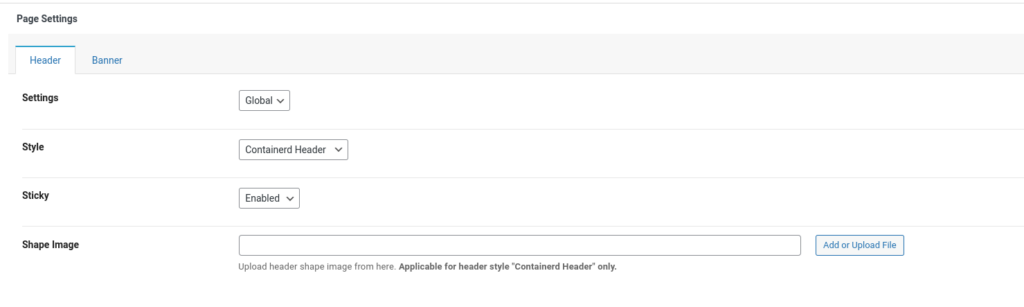
- Settings: By default it is global which means the below settings won’t apply to this apge until you select it Local from the Settings dropdown.
- Style: There are two header layouts available. By selecting setting value as Local you will be able to apply settings for this specific page only.
- Sticky: Select enabled if you wan this page header sticky after page scroll.
- Shape Image: This is a header bottom shape image uploader. if you want to set different type of image on each pages.
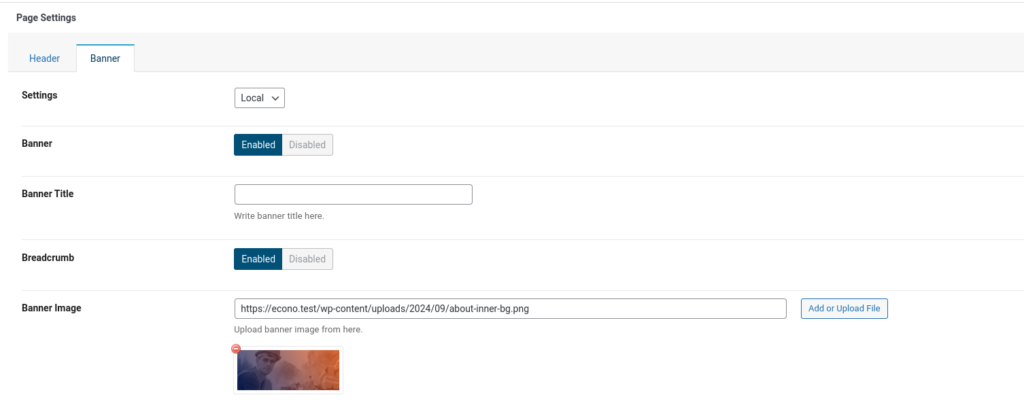
Banner Options
Sidebar Area
- Settings: By default it is global which means the below settings won’t apply to this apge until you select it Local from the Settings dropdown.
- Banner: Same as header, You can Enable/Disable the Banner for this page when the setting is Local
- Banner Title: You will be able to change banner title.
- BredCrumb: This is a breadcrumb switch for banner.
- Banner Image: You can upload banner image for this page with this uploader.
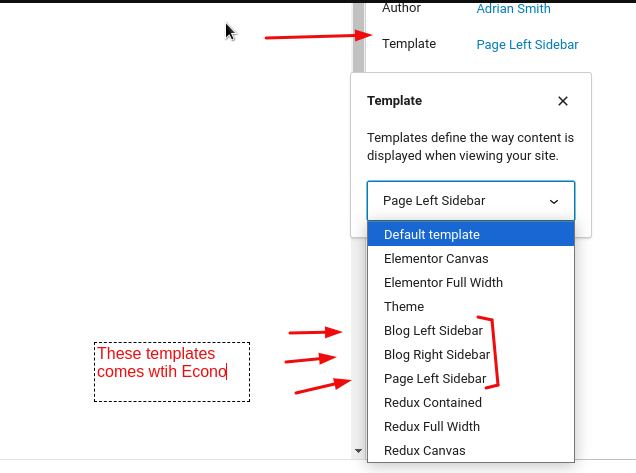
- Default Template: It will come with default page template with right sidebar.
- Page Left Sidebar: It will come with like default template but left sidebar.
- Blog Left Sidebar: It will come with, left sidebar for blog page.
- Blog Right Sidebar: It will come with, right sidebar for blog page.